
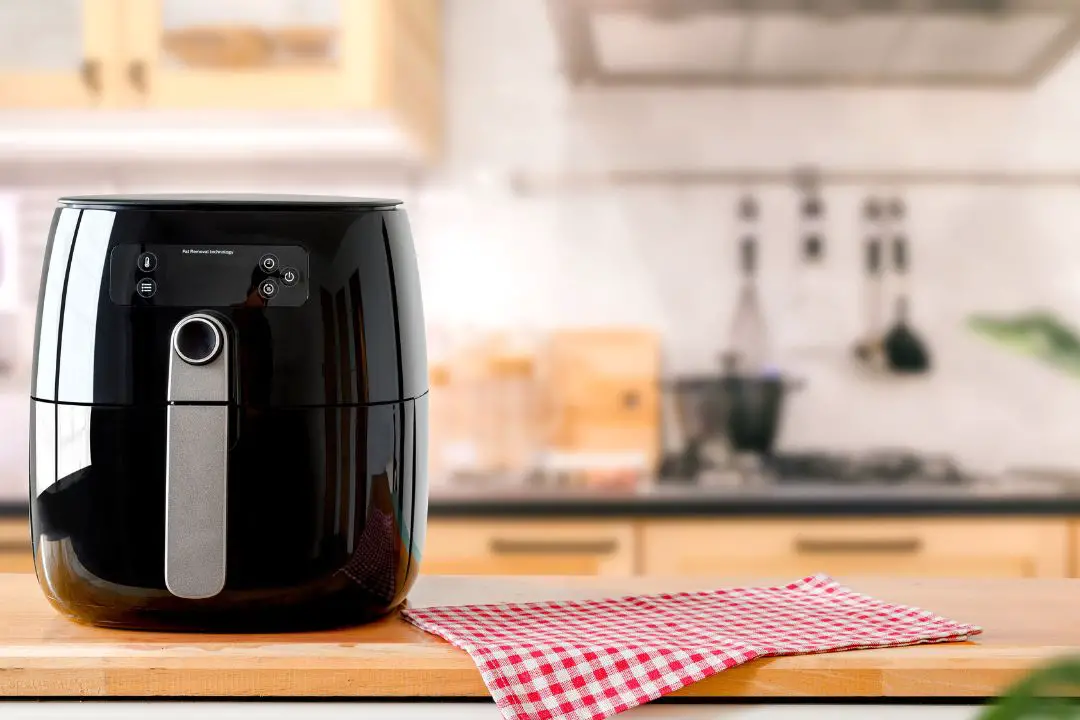
The Ninja Air Fryer is a versatile kitchen appliance that can be used for various purposes, from frying to baking.
One of the settings on the Ninja Air Fryer is the Roast setting, which is designed to cook food using dry heat.
In this blog post, we will explore When to use Roast Setting on Ninja Air Fryer?
When cooking a marinated beef chuck roast in an air fryer, it is recommended to use the Roast setting. Unlike a conventional oven, there is no need to brown the meat before cooking in an air fryer. This convenient feature allows for an easier and faster cooking process.
What is the Roast setting on the Ninja Air Fryer?
The Ninja Air Fryer is a versatile appliance that can help you prepare a variety of dishes quickly and easily.
One of the settings on the Ninja Air Fryer that many people are curious about is the Roast setting.
This setting is designed to cook meat and vegetables using hot air, which circulates around the food, ensuring that it is evenly cooked.
To use the Roast setting on the Ninja Air Fryer, you will need to select the temperature and time that you want to cook your food for.
The temperature can be set anywhere from 180°F to 400°F, depending on the type of food you are cooking. The time can be set for up to 60 minutes, which is usually enough time to cook most meats and vegetables.
Once you have set the temperature and time, you can place your food in the Ninja Air Fryer and let it cook.
It is important to ensure that the food is placed in a single layer, with enough space around it to allow the hot air to circulate properly. This will ensure that your food is cooked evenly and thoroughly.
Overall, the Roast setting on the Ninja Air Fryer is a great feature that can help you prepare delicious meals quickly and easily.
By following the instructions provided with your appliance, you can use this setting to cook a variety of meats and vegetables to perfection.
Whether you are a seasoned chef or a beginner in the kitchen, the Ninja Air Fryer is a great tool to have on hand for all your cooking needs.
When to use the Roast setting on the Ninja Air Fryer?
When using the Ninja Air Fryer, it’s important to know when to use the Roast setting to achieve perfect results.
The Roast setting is designed to cook food at a high temperature, similar to that of an oven, making it perfect for roasting meats and vegetables.
This setting is especially useful when you want to achieve a crispy exterior and a juicy interior.
To use the Roast setting, simply select it on the control panel and adjust the temperature and time settings according to the recipe or your preference. It’s important to preheat the air fryer before using this setting to ensure that the food cooks evenly.
When roasting meats, it’s recommended to use a meat thermometer to ensure that the internal temperature reaches the desired level of doneness.
For vegetables, it’s important to make sure that they are evenly coated in oil to achieve a crispy exterior.
The Roast setting can also be used for baking, such as for making cakes and bread. However, it’s important to use the appropriate baking accessories, such as a baking pan or a wire rack, to ensure that the food is cooked evenly.
In summary, the Roast setting on the Ninja Air Fryer is perfect for achieving crispy and juicy results when roasting meats and vegetables.
It can also be used for baking, but it’s important to use the appropriate accessories and preheat the air fryer before use.
What Does the Roast Feature Do On The Ninja Air Fryer?
The Roast feature on the Ninja Air Fryer is a great tool to have in your cooking arsenal. This feature is designed to cook your food evenly on all sides, resulting in a perfectly roasted dish every time.
To use the Roast feature, simply select it on your Air Fryer’s control panel and set the temperature and cooking time. This feature is ideal for cooking meats, vegetables, and even desserts.
The Ninja Air Fryer’s Roast feature works by circulating hot air around the food, which ensures that it’s cooked to perfection.
One of the benefits of using the Roast feature is that it helps to reduce the amount of oil needed in your cooking, making it a healthier option for those who are trying to watch their calorie intake.
Whether you’re a beginner or a seasoned chef, the Roast feature on the Ninja Air Fryer is a must-have for any kitchen.
Benefits Of using Roast Setting on Ninja Air Fryer:
- 1. Perfect for cooking larger cuts of meat like roasts, chicken, and turkey.
- 2. Roasting mode provides even heat distribution, resulting in perfectly cooked and juicy meats.
- 3. The Ninja Air Fryer’s Roast Setting allows you to cook at high temperatures, which can help to create a crispy exterior while retaining the moisture inside.
- 4. The Roast Setting is great for making one-pot meals, including vegetables and potatoes, which cook to perfection alongside your meat.
- 5. The Ninja Air Fryer’s Roast Setting is also a great option for reheating leftovers, as the high heat helps to restore the texture and flavor of your food.
What is the difference between Air Fry and Roast on Ninja Air Fryer?
If you own a Ninja Air Fryer, you might be wondering what the difference is between the Air Fry and Roast functions.
The Air Fry function is designed to cook your food using hot air circulated around the food to create a crispy and golden brown exterior without the need for added oil.
On the other hand, the Roast function is designed to cook your food using a combination of hot air and infrared heat to sear the surface of the food and lock in its natural juices.
This function is great for cooking roasts, chicken, and vegetables that require a longer cooking time than the Air Fry function.
When using the Roast function, it is recommended to preheat the Ninja Air Fryer for 10 minutes to ensure an even cooking temperature.
So, if you want crispy and crunchy food, use the Air Fry function, but if you want to cook meat to perfection, use the Roast function.
Tips for using the Roast setting on the Ninja Air Fryer:
If you’re looking for a way to cook the perfect roast in your Ninja Air Fryer, then the Roast setting is the way to go. The Roast setting is perfect for cooking larger cuts of meat such as beef or chicken.
- To use this setting, simply select the Roast function from the menu and set the temperature and time according to the weight and type of meat you’re cooking.
- To ensure that your roast cooks evenly, it’s important to preheat the Air Fryer before placing the meat inside.
- Once your roast is cooking, avoid opening the Air Fryer too often to check on its progress, as this can cause temperature fluctuations and affect the overall cooking time.
- Finally, let your roast rest for a few minutes before carving to allow the juices to redistribute, and voila! You’ll have a perfectly cooked roast every time.
Conclusion
The Roast setting on the Ninja Air Fryer is a useful tool for cooking a variety of foods.
Whether you are cooking meats, vegetables, or other foods, the Roast setting can help you achieve the perfect level of crispiness and tenderness.
By following a few simple tips, you can get the best results when using the Roast setting on your Ninja Air Fryer.
